
Motorcycle Exhaust Guides
How to Install a Slip-On Exhaust on a Motorcycle
Mar
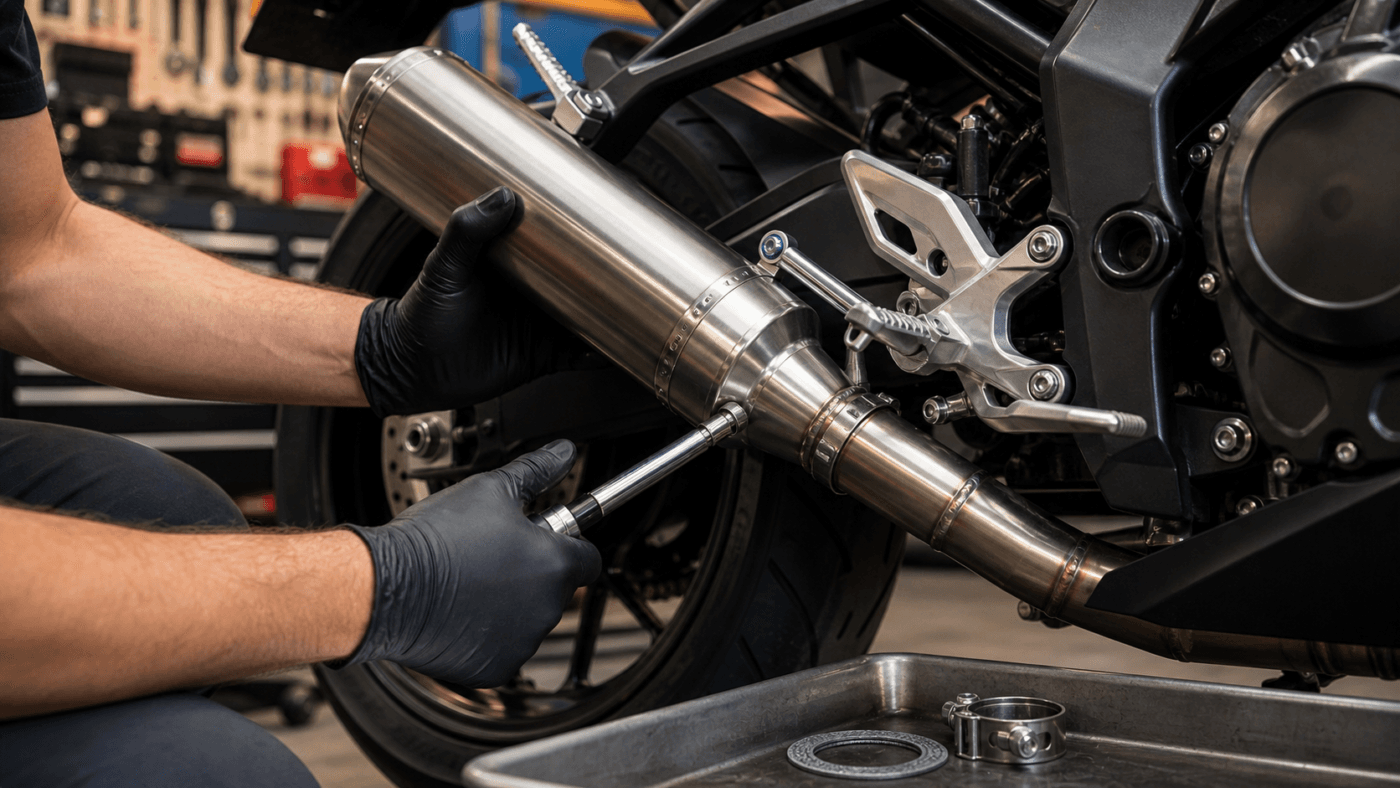
Installing a slip-on exhaust on a motorcycle is one of the most common exhaust upgrades because it usually replaces the muffler section while keeping the stock headers. A good install improves sound and appearance without turning the job into a full exhaust build, but fitment, clamps, leaks and heat clearance still matter.
This guide targets how to install slip on exhaust, how to install a slip on exhaust, slip on exhaust install, installing slip on exhaust motorcycle and what is a slip-on exhaust for motorcycle.
What Is a Slip-On Exhaust?
A slip-on exhaust is a replacement muffler or rear exhaust section that connects to the existing header or mid-pipe. It does not usually replace the whole exhaust system. That makes it simpler than a full system, but it still needs correct diameter, mounting points and clamp alignment.
For choosing whether a slip-on is the right upgrade, start with the best motorcycle exhausts guide.
Tools and Parts Needed
- Correct slip-on exhaust for your bike model and year.
- Socket set or wrenches.
- Torque wrench if torque specs are available.
- New clamp or supplied hardware.
- Replacement gasket or exhaust seal if required.
- Penetrating oil for old fasteners.
- Clean rag and gloves.
Before You Start
Let the exhaust cool completely. Confirm the new slip-on fits your motorcycle exactly. Check the inlet diameter, hanger bracket, clamp style and whether the kit includes all required hardware. If the bike has luggage, passenger pegs or bodywork near the muffler, check clearance before tightening everything.
How to Install a Slip-On Exhaust
- Put the motorcycle on stable ground and let the exhaust cool.
- Inspect the stock muffler mounting points, clamp and hanger bolts.
- Loosen the clamp that joins the muffler to the mid-pipe or header outlet.
- Support the muffler while removing hanger bolts.
- Twist and pull the old muffler off carefully. Use penetrating oil if needed.
- Clean the joint surface and inspect the gasket or sealing area.
- Slide the new slip-on into position without fully tightening it.
- Install hanger bolts loosely so the muffler can align naturally.
- Check clearance around swingarm, tire, passenger peg, bags and plastics.
- Tighten the clamp and mounting bolts to the correct spec if available.
- Start the bike and listen for leaks around the joint.
- After the first heat cycle, let it cool and recheck hardware.
How to Check for Exhaust Leaks After Install
A leak at the slip joint can cause ticking, popping, soot marks and poor sound. After installation, listen near the clamp area without touching hot parts. Look for soot after a short ride. If you suspect a leak, use the motorcycle exhaust leak guide.
Do You Need to Tune After a Slip-On?
Many slip-ons do not require a tune if the stock headers and emissions equipment remain in place, but this is not universal. A very open muffler, removed baffle or intake changes can make tuning more important. If the bike pops heavily, runs hot or feels worse, check fueling needs.
Use the motorcycle exhaust retune guide before assuming the install is finished.
Common Slip-On Install Mistakes
- Buying a universal muffler without checking inlet diameter and mount position.
- Tightening the clamp before aligning the hanger bracket.
- Reusing a damaged gasket or sealing sleeve.
- Ignoring clearance around bags, plastics and passenger pegs.
- Assuming loudness means performance.
- Skipping the post-heat-cycle bolt check.
Can You Put Any Slip-On Exhaust on a Motorcycle?
No. A slip-on must match the pipe diameter, mounting position, bike layout and clearance needs. Universal slip-ons can work on some custom setups, but model-specific slip-ons are safer for most riders because the hanger and inlet are designed for that motorcycle.
Related Slip-On and Exhaust Guides
For specific buying decisions, see the Harley slip-on exhaust guide, Hayabusa slip-on exhaust guide and Honda Grom exhaust guide. For sound comparisons, use the best sounding motorcycle exhaust guide.
Final Recommendation
A slip-on exhaust install is manageable for many riders if the part is model-specific and the joint is sealed correctly. Work slowly, align the muffler before tightening, check for leaks and recheck hardware after the first heat cycle. If the bike runs poorly after installation, treat tuning as part of the exhaust job rather than an afterthought.